Connect an Application with SSO
Use this guide when an application supports OpenID Connect and you want FerrisKey to handle sign-in.
By the end, you will have:
- One FerrisKey realm dedicated to the application or organization
- One OpenID Connect client
- A client ID and client secret
- The redirect URI registered in FerrisKey
- The issuer URL and discovery endpoint your application needs
Before You Start
Before opening FerrisKey, find these values in the application you want to connect:
| Value | Example |
|---|---|
| Application URL | https://vault.example.com |
| Callback or redirect URI | https://vault.example.com/identity/connect/oidc-signin |
| Required scopes | openid profile email |
Use the application's exact callback URL
The redirect URI must match what the application sends during login. If the application says the callback is /identity/connect/oidc-signin, do not replace it with the application homepage.
Example Values
The walkthrough uses these values. Replace them with your own domains and realm name.
| Setting | Value |
|---|---|
| FerrisKey URL | https://sso.example.com |
| Realm | home |
| Client ID | vaultwarden |
| Application URL | https://vault.example.com |
| Redirect URI | https://vault.example.com/identity/connect/oidc-signin |
| Scopes | openid profile email |
Create or Select the Realm
A realm keeps users, clients, roles, and scopes together. Avoid using master for applications.
Open the realm selector
Click the current realm name in the left sidebar. Select the realm that will own this application, or click Create Realm if you need a new one.

Stay in the application realm
After switching, check the realm indicator before creating the client. The client will be created in the realm currently selected in the dashboard.
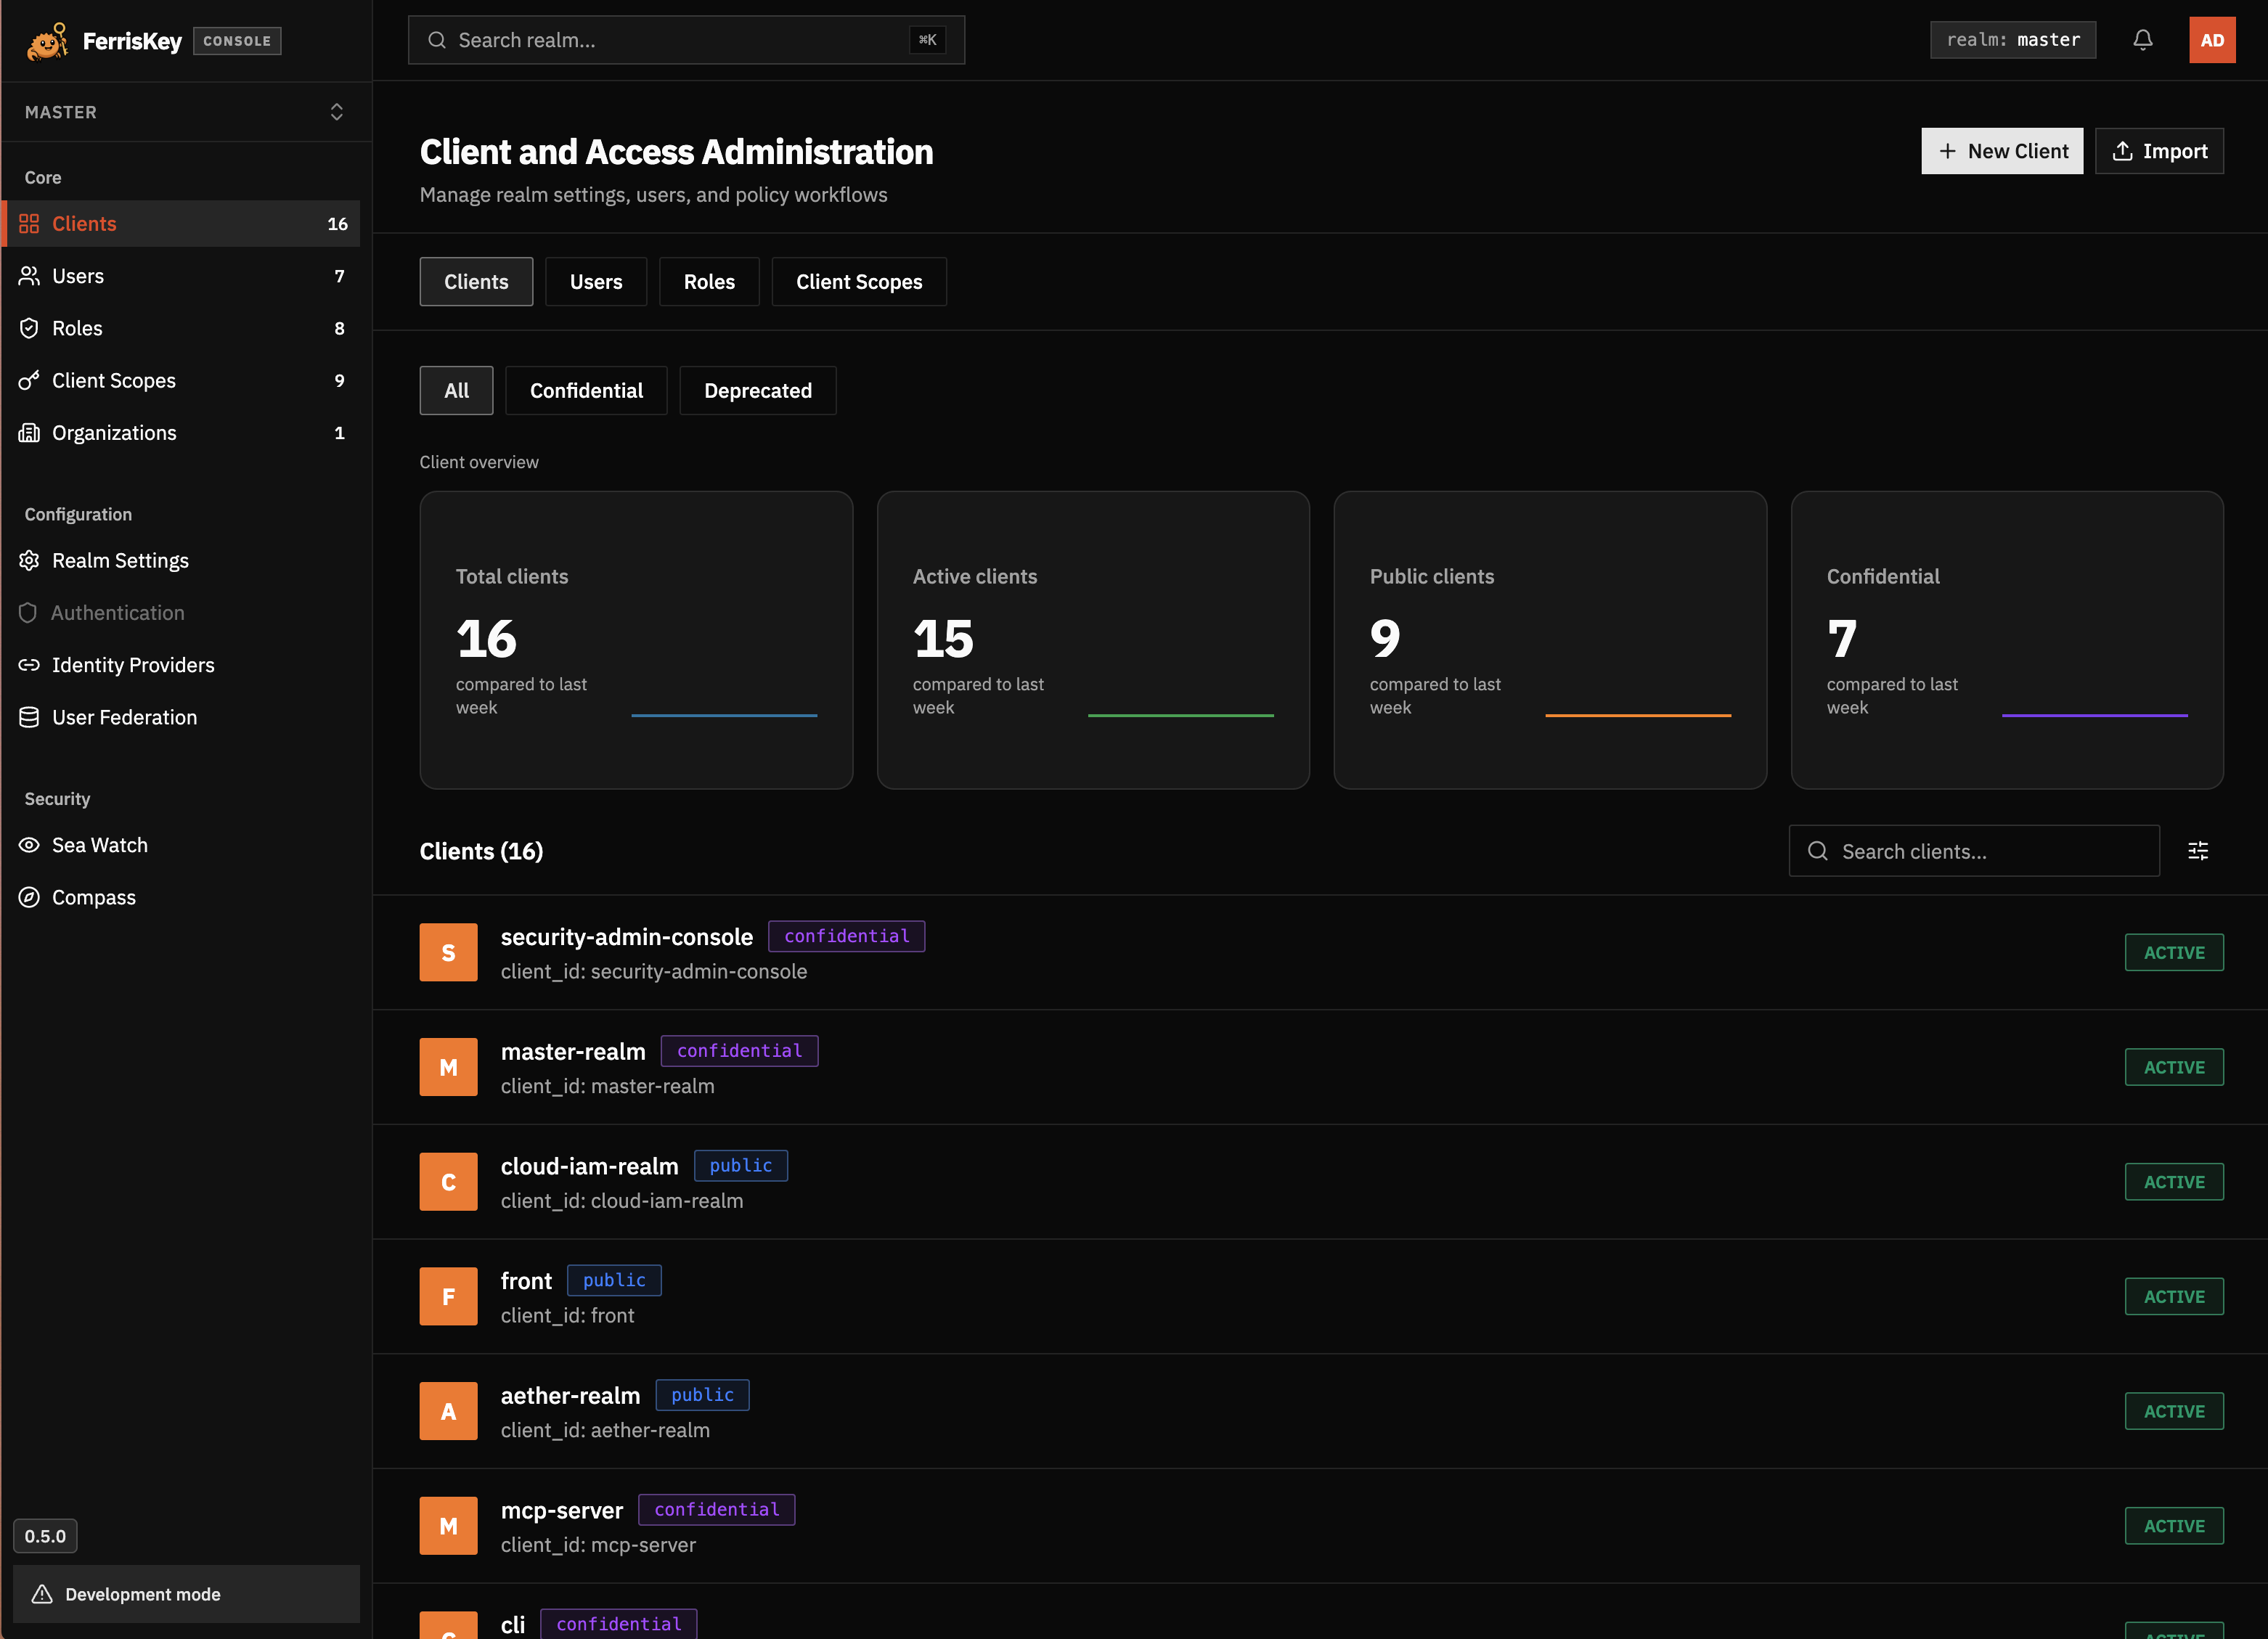
Create the Client
The client is the application entry in FerrisKey. It tells FerrisKey which app is asking users to sign in.
Open Clients
In the sidebar, click Clients, then click New Client.
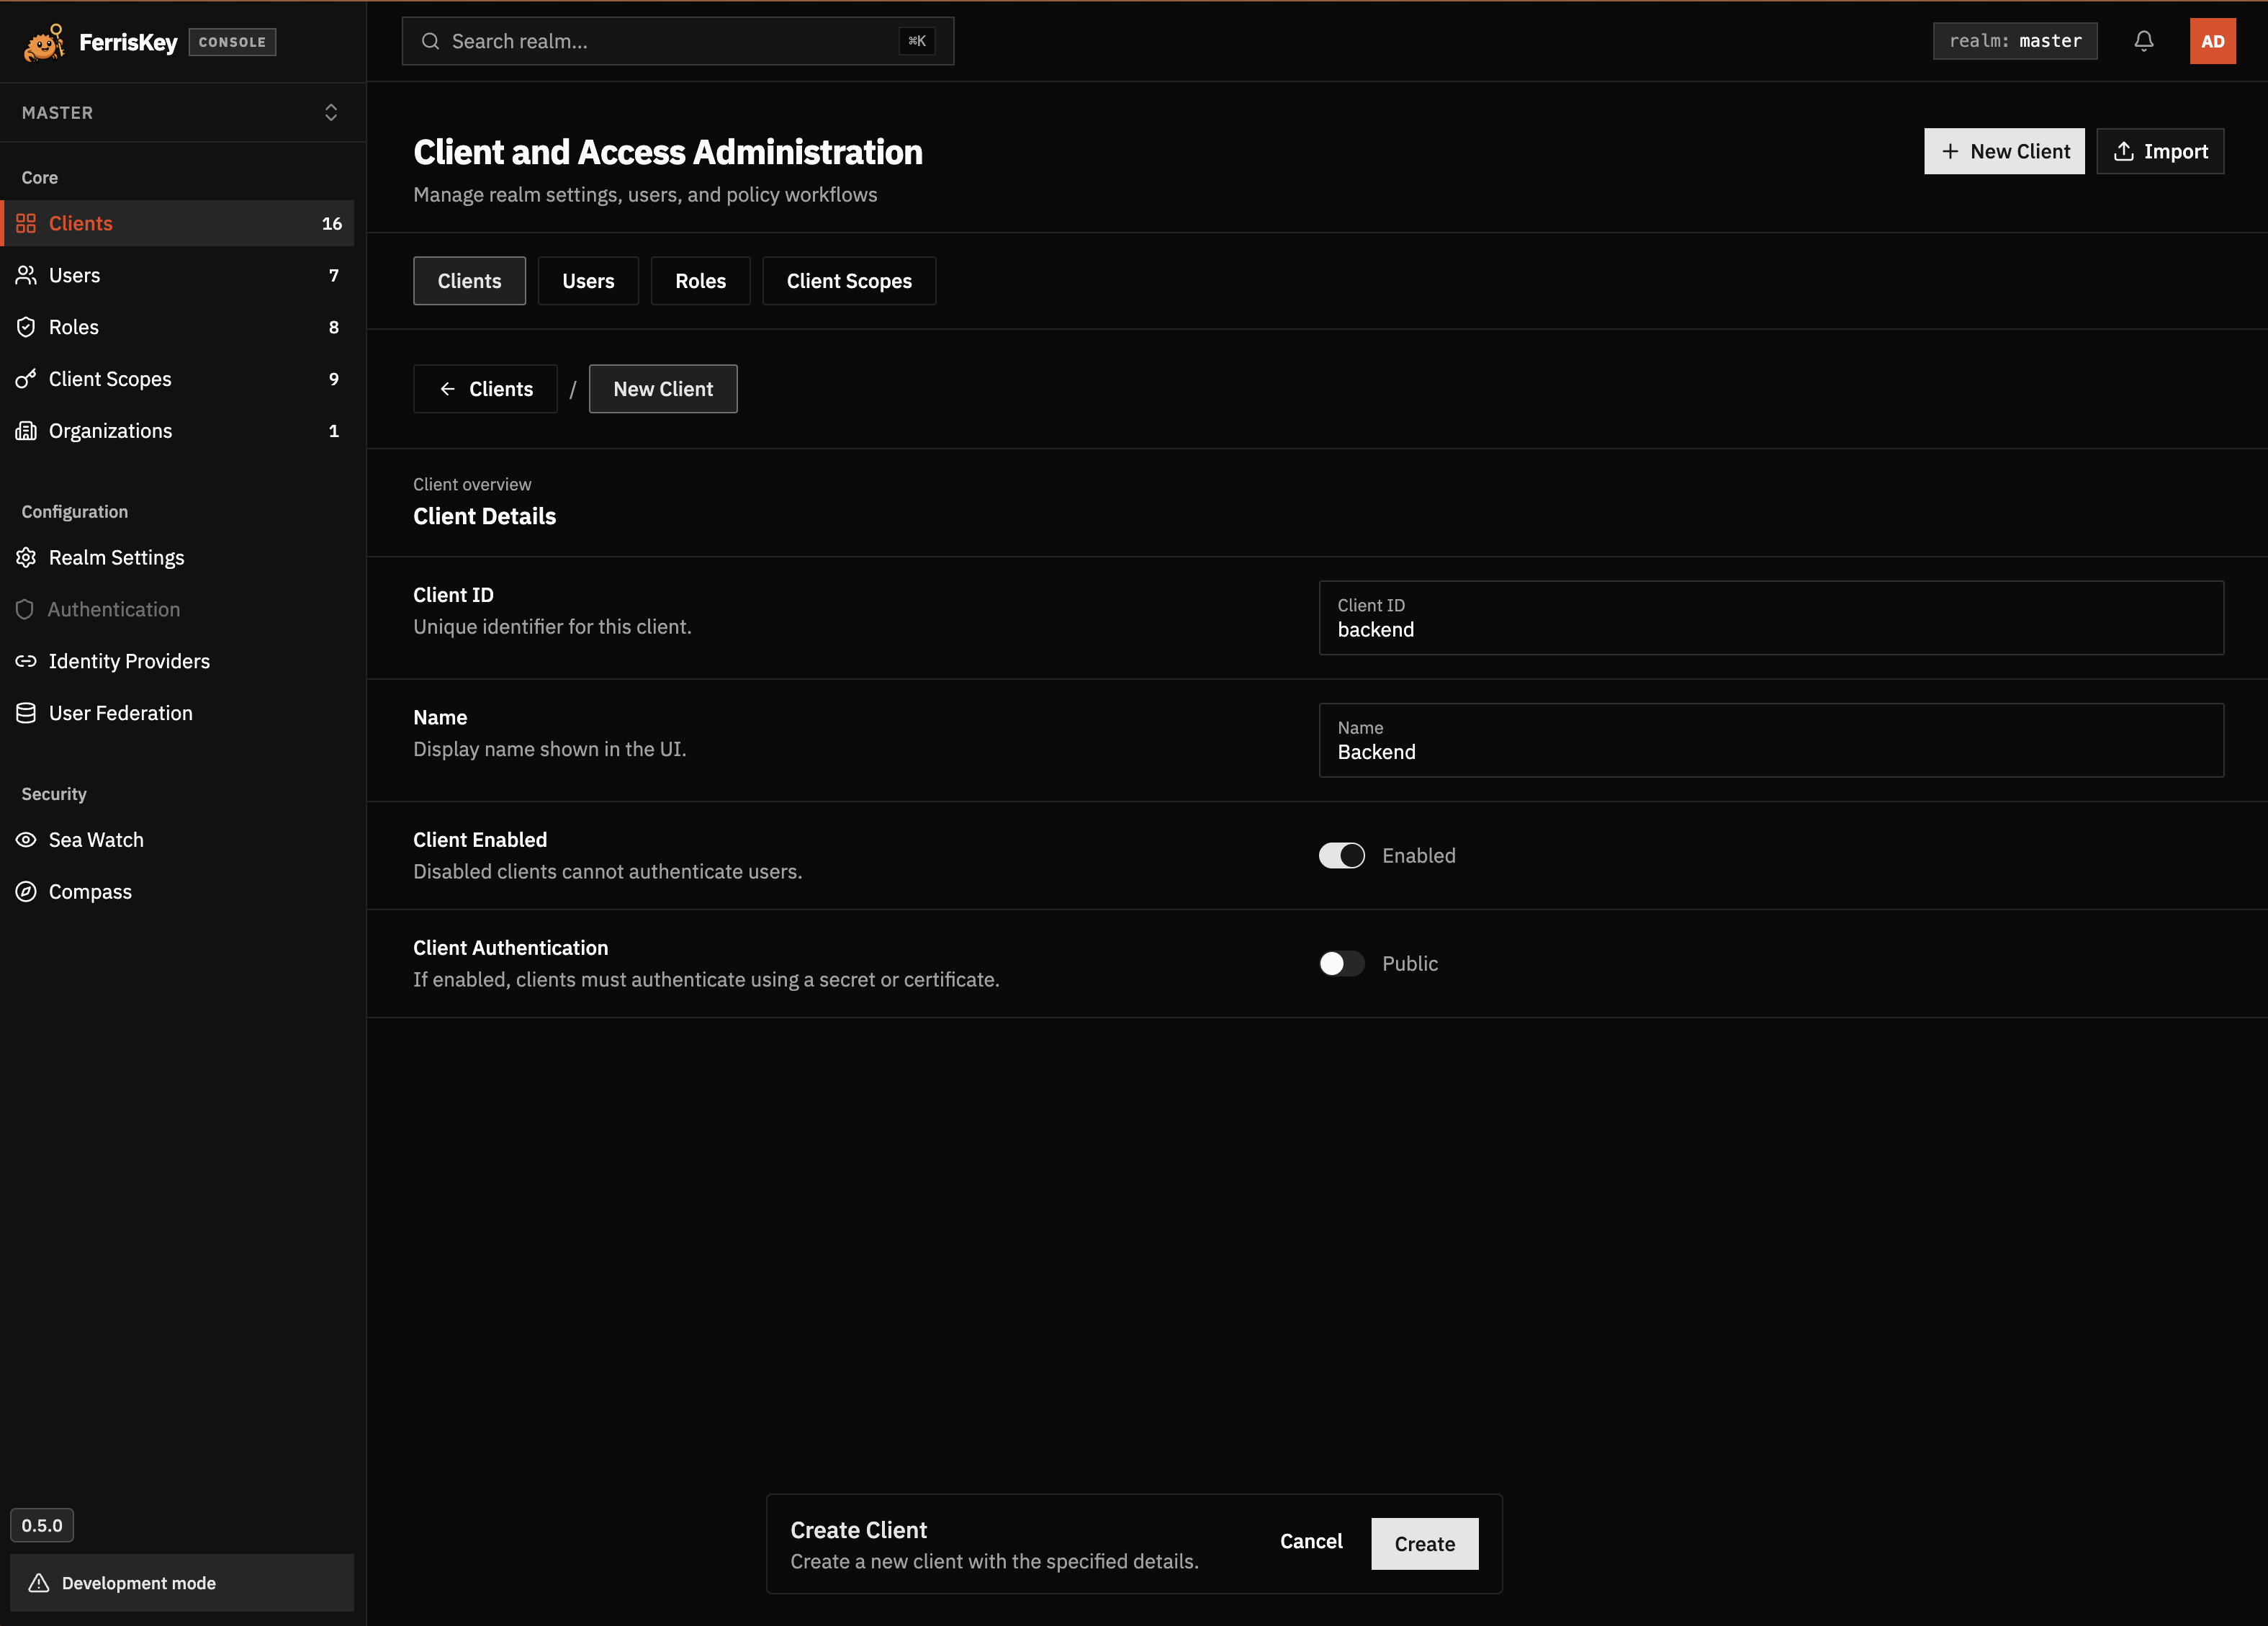
Fill the client details
Use a stable client ID. In this example:
- Client ID:
vaultwarden - Name:
Vaultwarden - Client Enabled: enabled
- Client Authentication: enabled
Enable Client Authentication for server-side applications. FerrisKey will treat the client as confidential and generate a client secret.
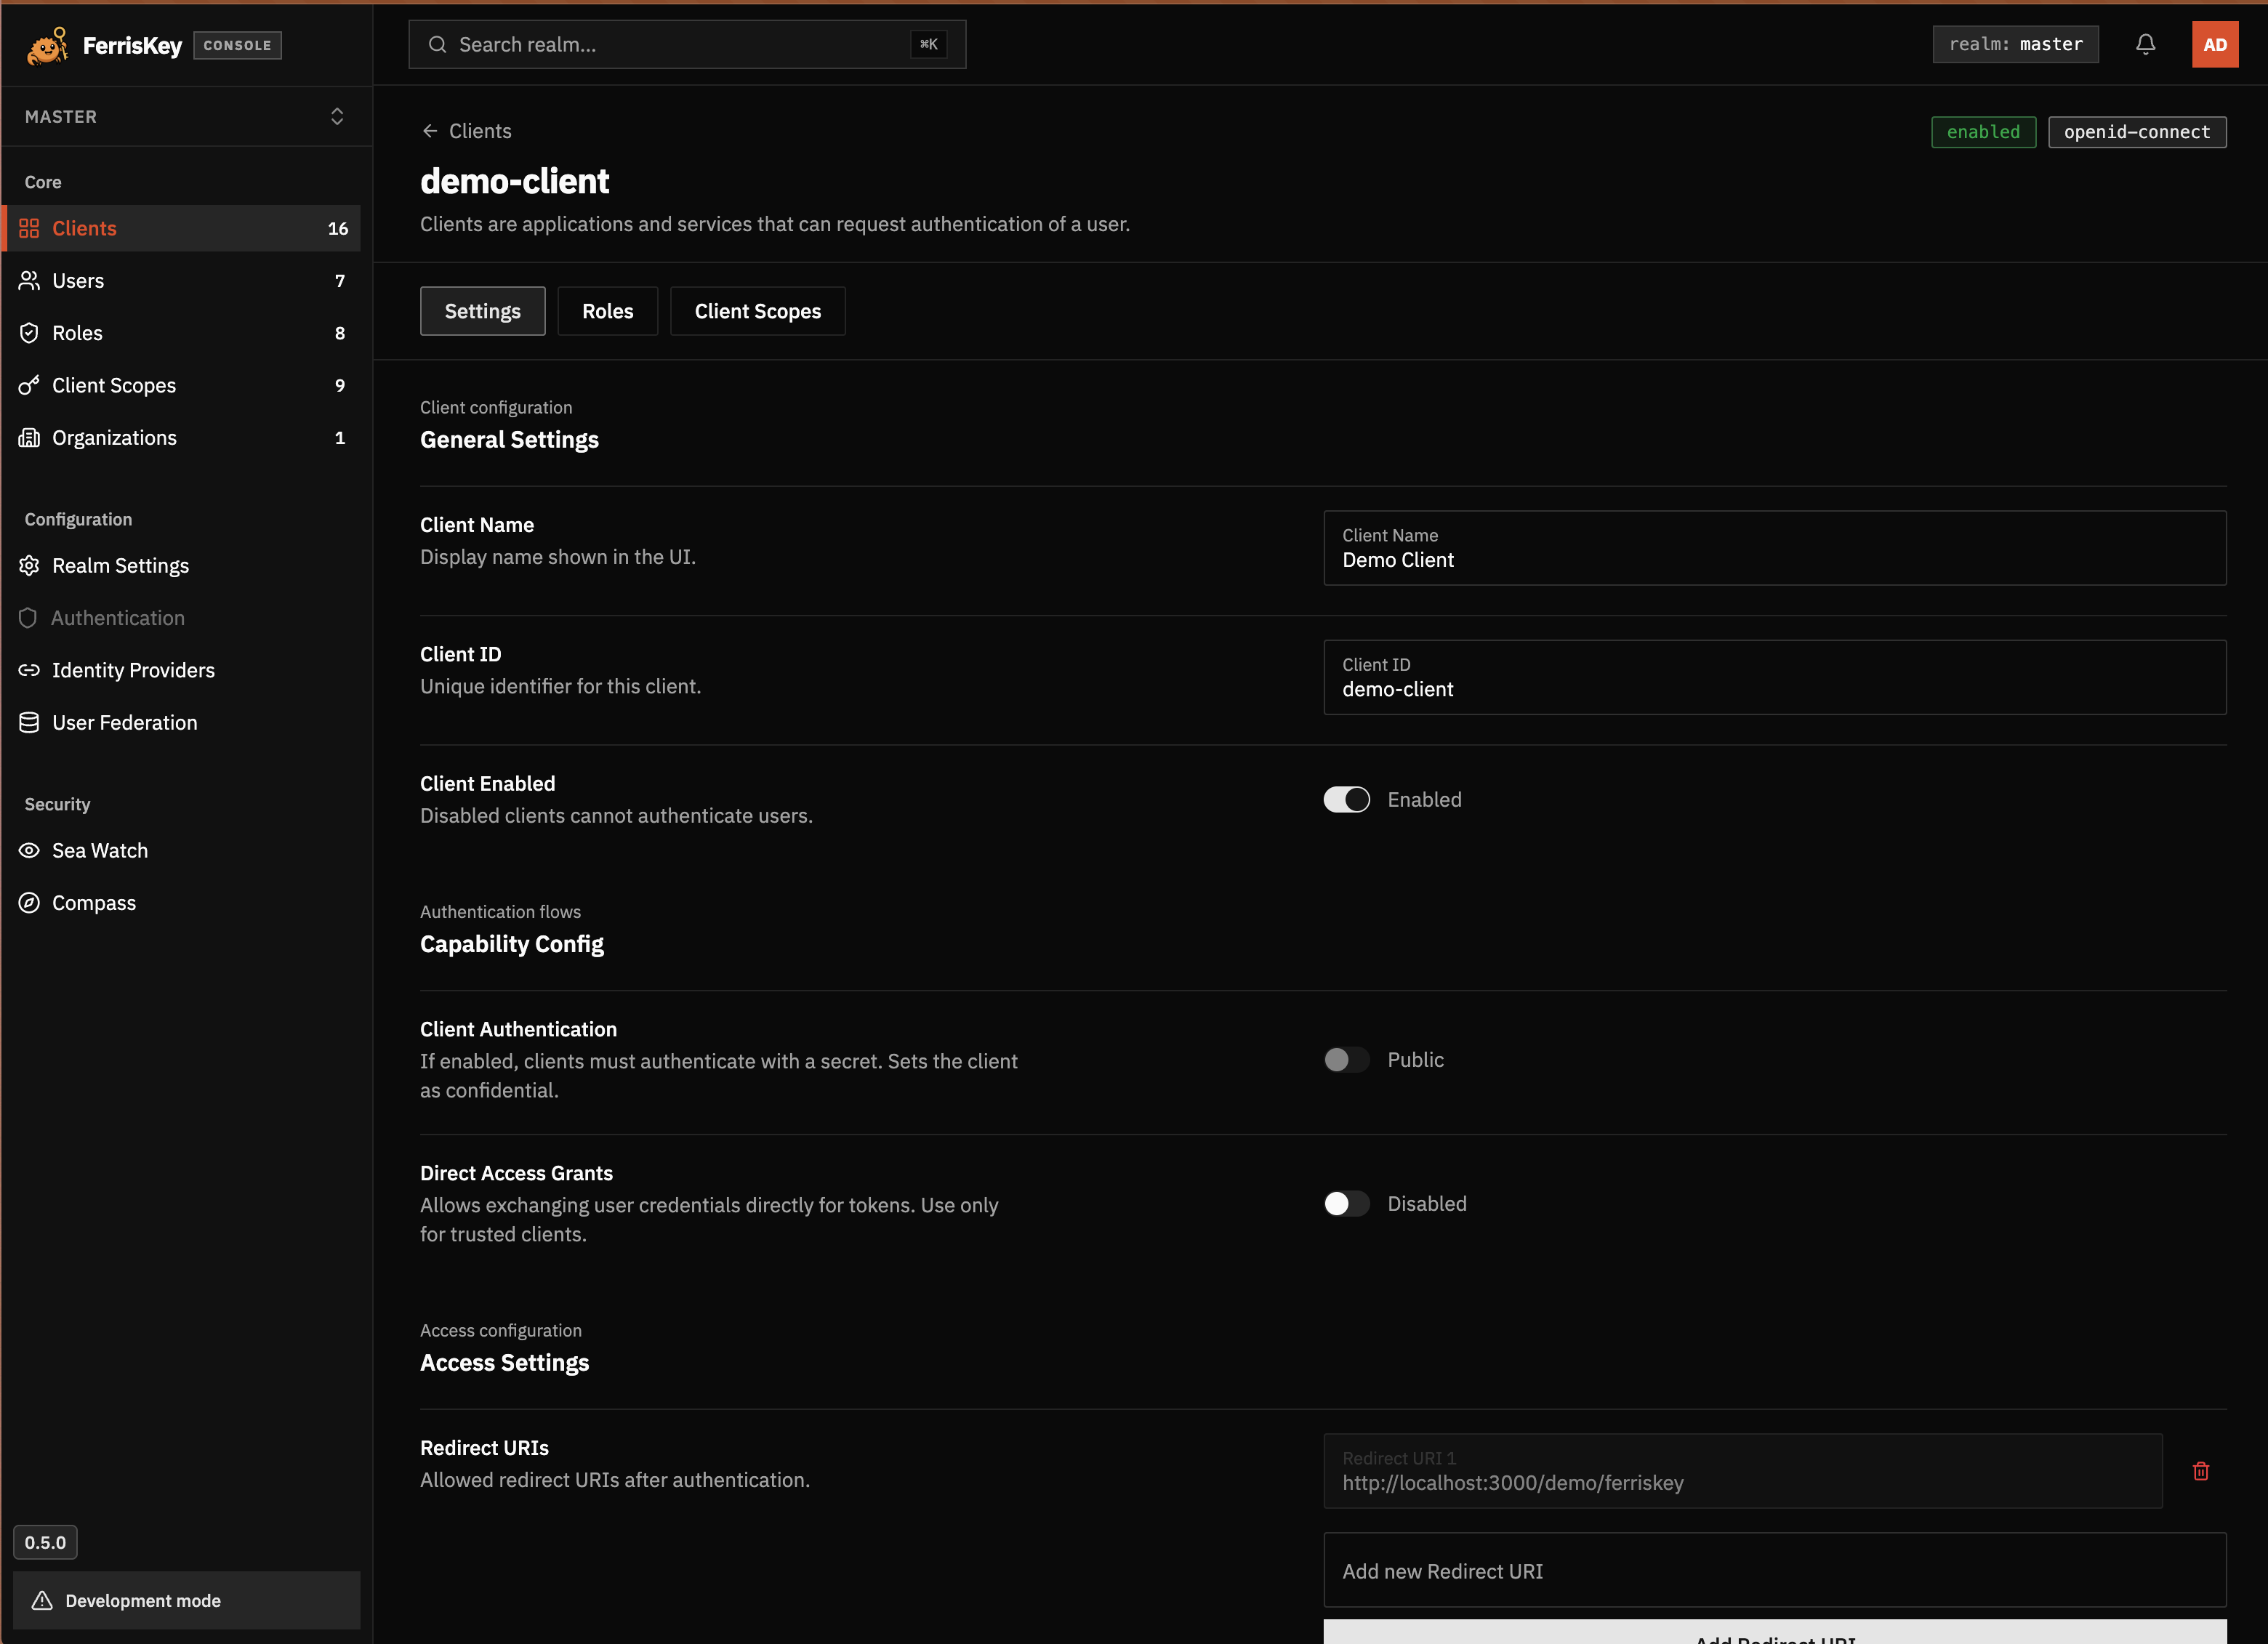
Configure the Redirect URI
The redirect URI is where FerrisKey sends the browser after a successful login.
Open the client settings
Open the client you just created and stay on the Settings tab.
Add the redirect URI
In Access Settings, add the exact callback URL from your application.
For the example:
https://vault.example.com/identity/connect/oidc-signinKeep Direct Access Grants disabled unless the application explicitly asks for the password grant. Normal browser SSO should use the authorization code flow.
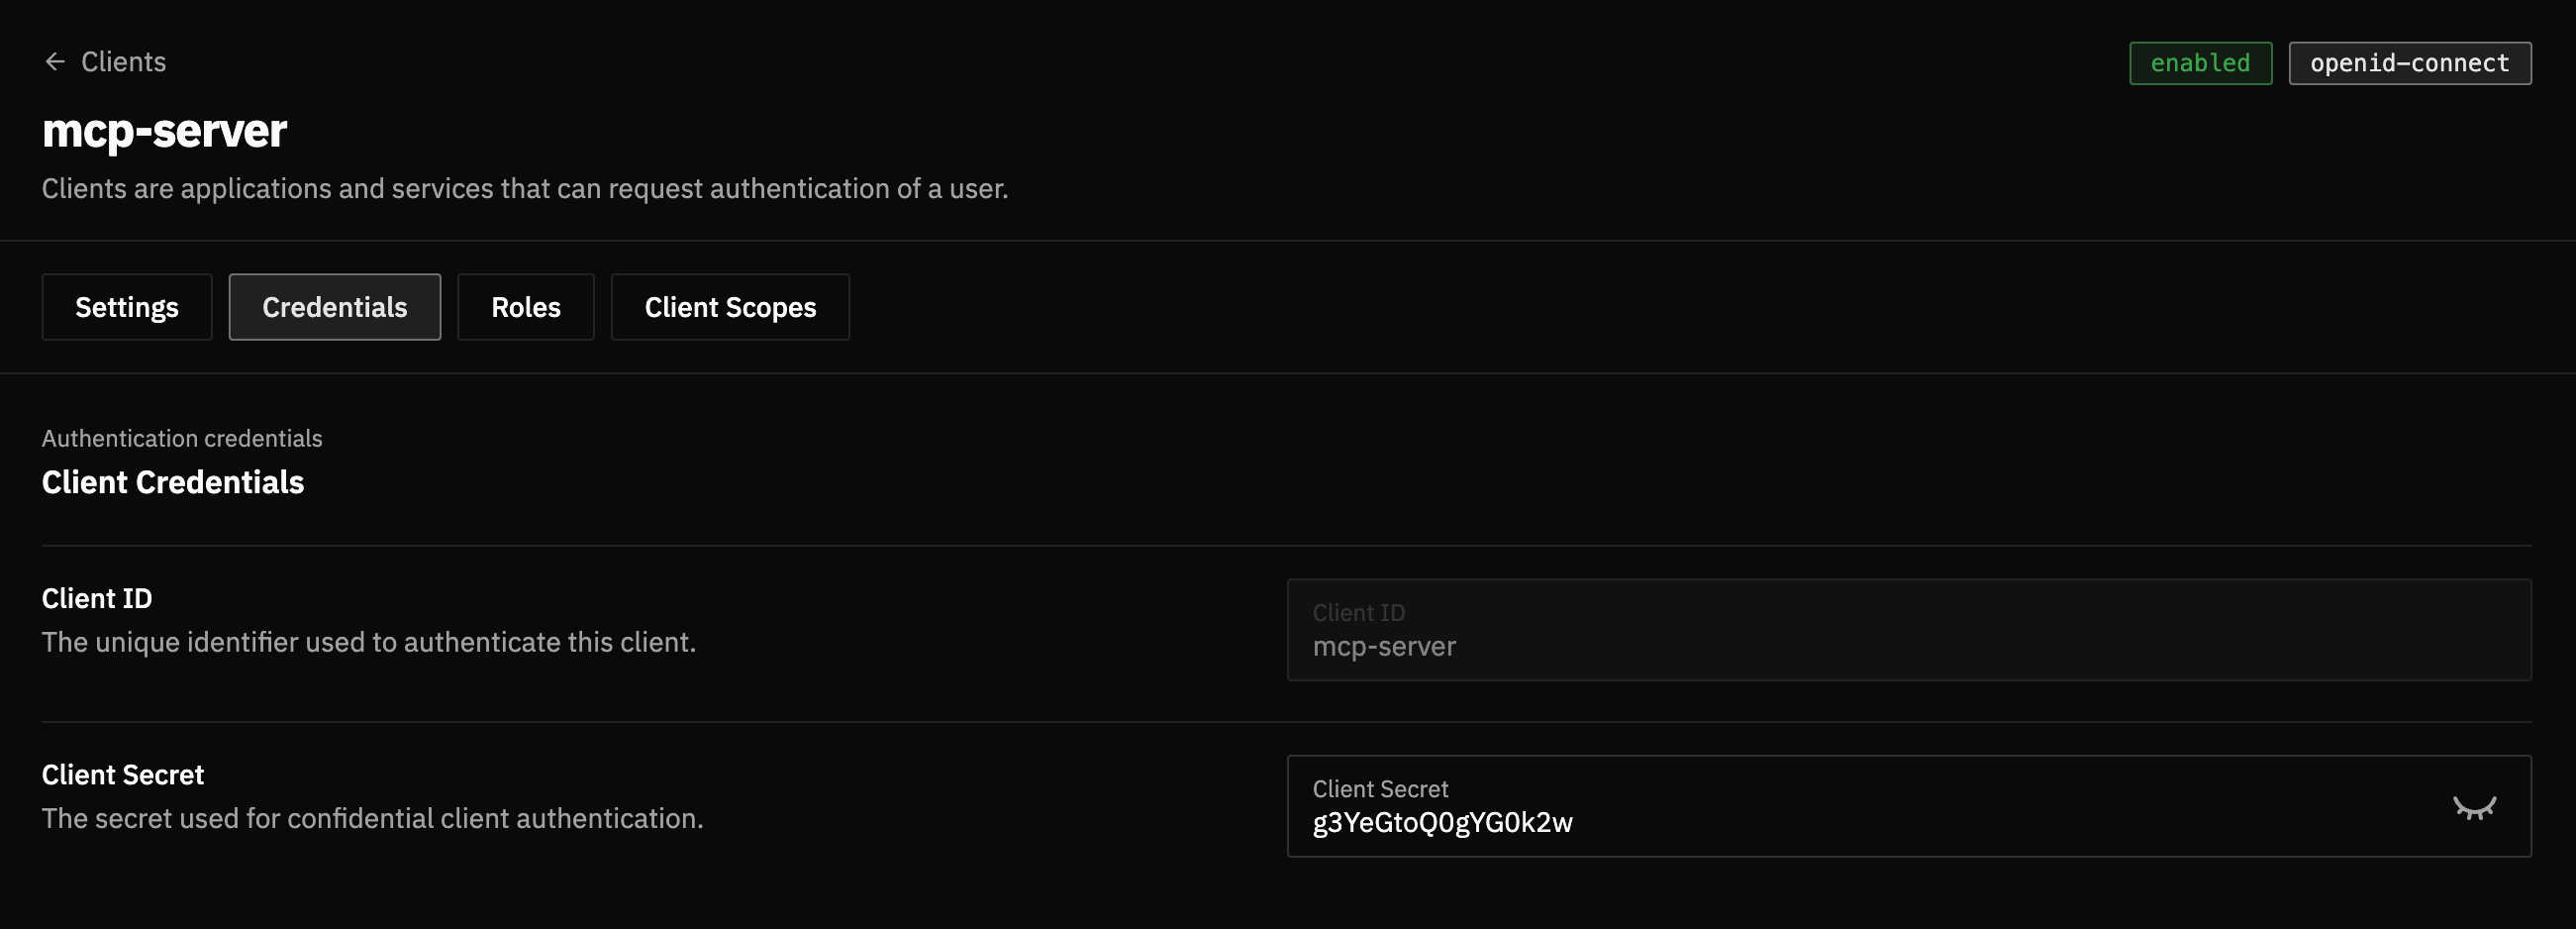
Copy the Client Secret
Open Credentials
Open the client’s Credentials tab.
Copy the secret
Copy the Client Secret and put it in the application’s OIDC configuration. Treat it like a password.
Rotate leaked secrets
If a client secret is pasted into a public issue, log, screenshot, or repository, rotate it and update the application immediately.
Check the Client Scopes
Most OIDC applications need openid, profile, and email.
Open Client Scopes
Open the client’s Client Scopes tab.
Confirm required scopes
Make sure these scopes are assigned as Default:
openidprofileemail
If the application needs roles, also assign roles.

Configure the Application
Paste these values into the application.
| Application setting | FerrisKey value |
|---|---|
| Issuer / Authority | https://sso.example.com/realms/home |
| Discovery endpoint | https://sso.example.com/realms/home/.well-known/openid-configuration |
| Client ID | vaultwarden |
| Client Secret | The value from the Credentials tab |
| Scopes | openid profile email |
| Redirect URI | https://vault.example.com/identity/connect/oidc-signin |
What the Discovery Endpoint Does
The discovery endpoint is the URL an OpenID Connect application uses to learn how to talk to FerrisKey.
https://sso.example.com/realms/home/.well-known/openid-configurationWhen the application opens that URL, FerrisKey returns a JSON document with the realm’s OIDC metadata. That document tells the application:
- Where to redirect users when they click “Sign in”
- Where to exchange the authorization code for tokens
- Which issuer value to expect in tokens
- Where to fetch the public keys used to verify token signatures
- Which scopes and response types are supported
This is why many applications only ask for an issuer, authority, or discovery URL instead of asking you to configure every endpoint manually.
Authority vs discovery endpoint
Some applications ask for the issuer or authority URL. Others ask directly for the discovery endpoint. If the application asks for the authority, usually use the realm URL without /.well-known/openid-configuration.
Test the Login
- Open the application in a private browser window.
- Click the SSO or OpenID Connect login button.
- Confirm that the browser redirects to FerrisKey.
- Sign in with a user from the same realm.
- Confirm that FerrisKey redirects back to the application.
If the user can sign in but the application says the account is not allowed, check the application’s own signup, domain, group, or role rules. FerrisKey has authenticated the user, but the application can still decide whether that user may enter.
Troubleshooting
Invalid redirect URI
FerrisKey rejects the login before showing the sign-in page.
Check that the redirect URI in the client settings exactly matches the callback URL sent by the application. Compare the scheme, domain, path, trailing slash, and port.
Discovery endpoint does not load
Open this URL from your browser and from the application container or server:
https://sso.example.com/realms/home/.well-known/openid-configurationIt should return a JSON document. If it does not, check the FerrisKey public URL, reverse proxy, TLS certificate, and realm name.
Issuer mismatch
Some applications validate that the configured authority equals the issuer field returned by the discovery endpoint.
Open the discovery endpoint and copy the issuer value. Use that exact value as the application’s issuer or authority.
Client authentication failed
The application reaches FerrisKey but token exchange fails.
Check:
- The client is enabled
- Client Authentication is enabled for confidential applications
- The application uses the current client secret
- There are no extra spaces around the copied secret
Missing email or profile data
The login succeeds but the application cannot create or match the account.
Check that openid, profile, and email are assigned as default client scopes. Also check that the FerrisKey user has an email address.
The application asks for password grant
Prefer authorization code flow when the application supports it. Only enable Direct Access Grants if the application explicitly requires grant_type=password and you trust it to handle user passwords directly.